A Cozy Pinspiration Hack

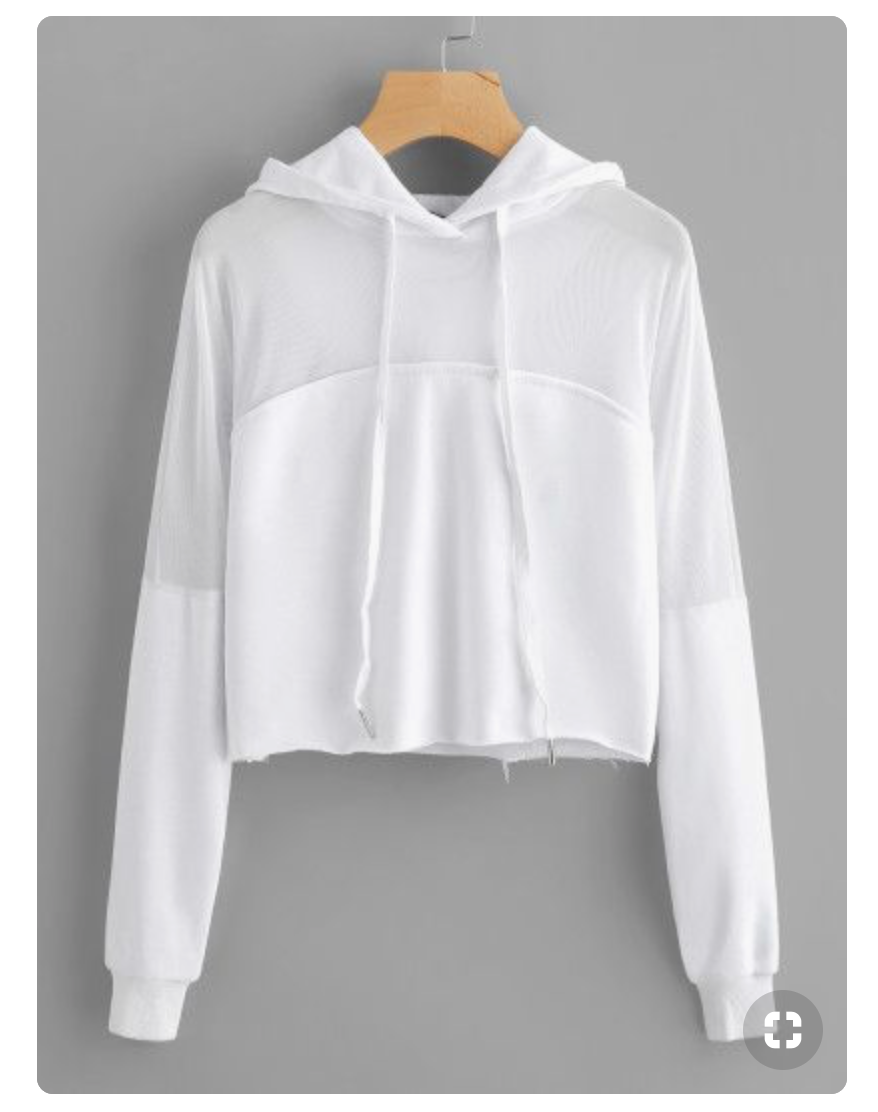
For the last year I’ve been wanting to create this pinspiration and I just never got around to it. I’m a big pullover/jacket fan. I wear them most of the year. Something that I can wear over a tank or throw a jacket on over top, on those super cold mornings.

Back when I was testing the Nova Raglan by Sinclair Patterns) all I could think about was that pinspiration pic from last year. The Nova comes with a bunch of options. Cowl, hood, kangaroo Pocket, etc. Definitely check it out.

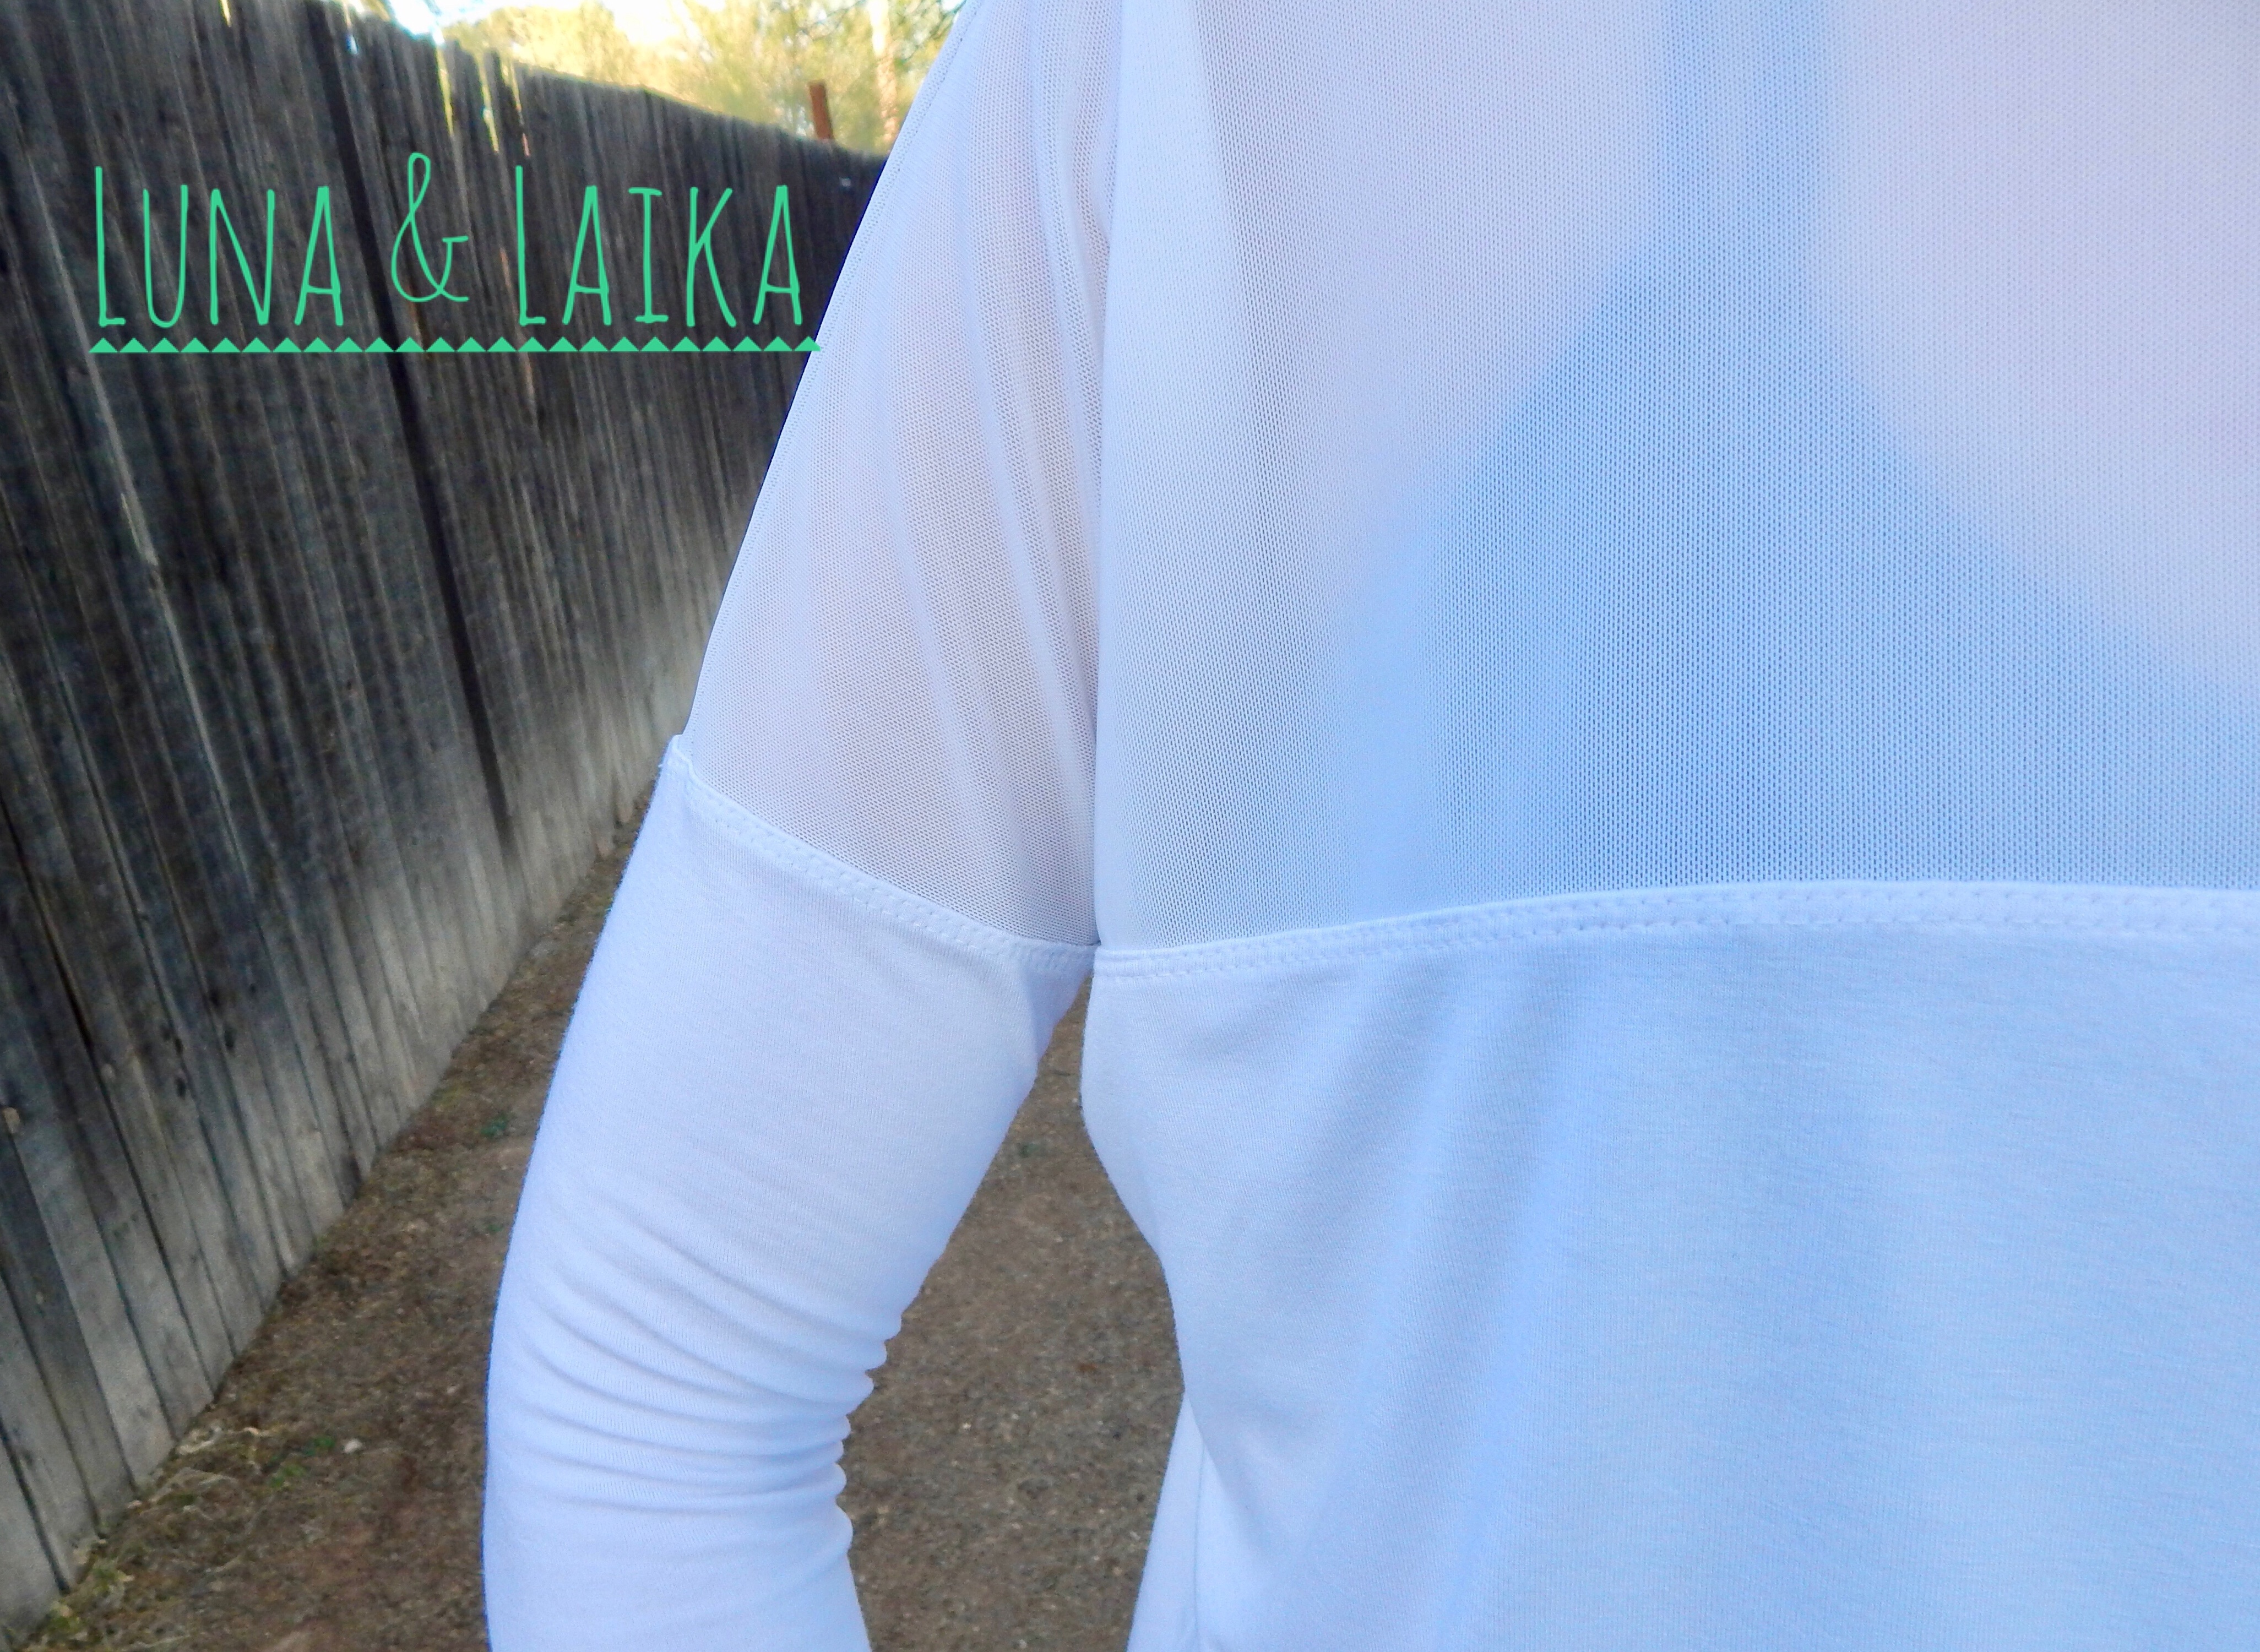
That was also my first time using the cozy French terry from Phee Fabrics and it was love! This stuff isn’t super thin and flimsy like some I’ve tried. The word “cozy” describes it perfectly. The fleece backing is so soft and lush. It’s warm but not too hot, and it’s so easy to work with. Everytime I wear anything I’ve made with it, people are always shocked I made it. Then they have to touch it. I’ve been really happy with how it holds up too. For this one, I used the Light Heathered Gray and Dusty Denim. So if you’re looking for great french terry, check this stuff out.

Here’s my disclaimer! There are tons of mistakes. Things I didn’t think through fully and things I need to think about a little more. Lots of seam tipping was done. However I do still love it!!! You can also probably tell when I had to tell my kid to stop screwing with it as I was sewing.

I used a 7” zipper, which I think is fine for me but you could use a 9” if you wanted. You’ll need the front, back, sleeves, cuffs, and a waistband if you choose. The cowl neck, I winged my own. I wanted it similar to my Patagonia so I measured the the height on that and the width across on the cowl pattern piece. I came up with a width of 19” and 4.25” high. I cut one in gray and one in blue but you could easily double that height and cut just one color.

I assembled the shirt except for the seam where that zipper will go and that sleeve/side sleeve. You’re going to attach the cowl to it. I left it all open and just tried to quarter the cowl and the neck of the shirt. For my cowl, I did 2 colors so I had a different color on the inside. So I serged those together first.

You’ll place the cowl right sides together, with it evenly stretched and serge.

I would highly suggest adding some interfacing. Which I intended to do, like I always do when I put a zipper in a knit project. But I couldn’t find mine. I just bought it and I can’t figure out where my husband put it. I would’ve just done some strips on either side of where the zipper was going. Now that I’m done, it will show up. Every.freaking.time!

I’m not going to go into the do’s and don’ts of adding a zipper to a knit fabric because there’s already a phenomenal blog on the Phee Blog about it. It’s a great read!

The top edge of the cowl that’s going to fold over, you can fold 1/4” and press. You’ll need to go back and sew that edge at the seam where you attached the cowl later.

This is where we add the zipper. As far as placement, I started my zipper right around what would be the middle of my cowl.

Make sure everything lines up after you baste that zipper in place.

Then we are going to finish that seam and the side seam. You could also baste that in place before hand. I did it both different ways since I seam ripped a few times.

Once your zipper is in, you’re going to fold your cowl down and top stitch the zipper and then the edge where the cowl and the shirt meet. Remember, we are tacking the inside of the cowl down.

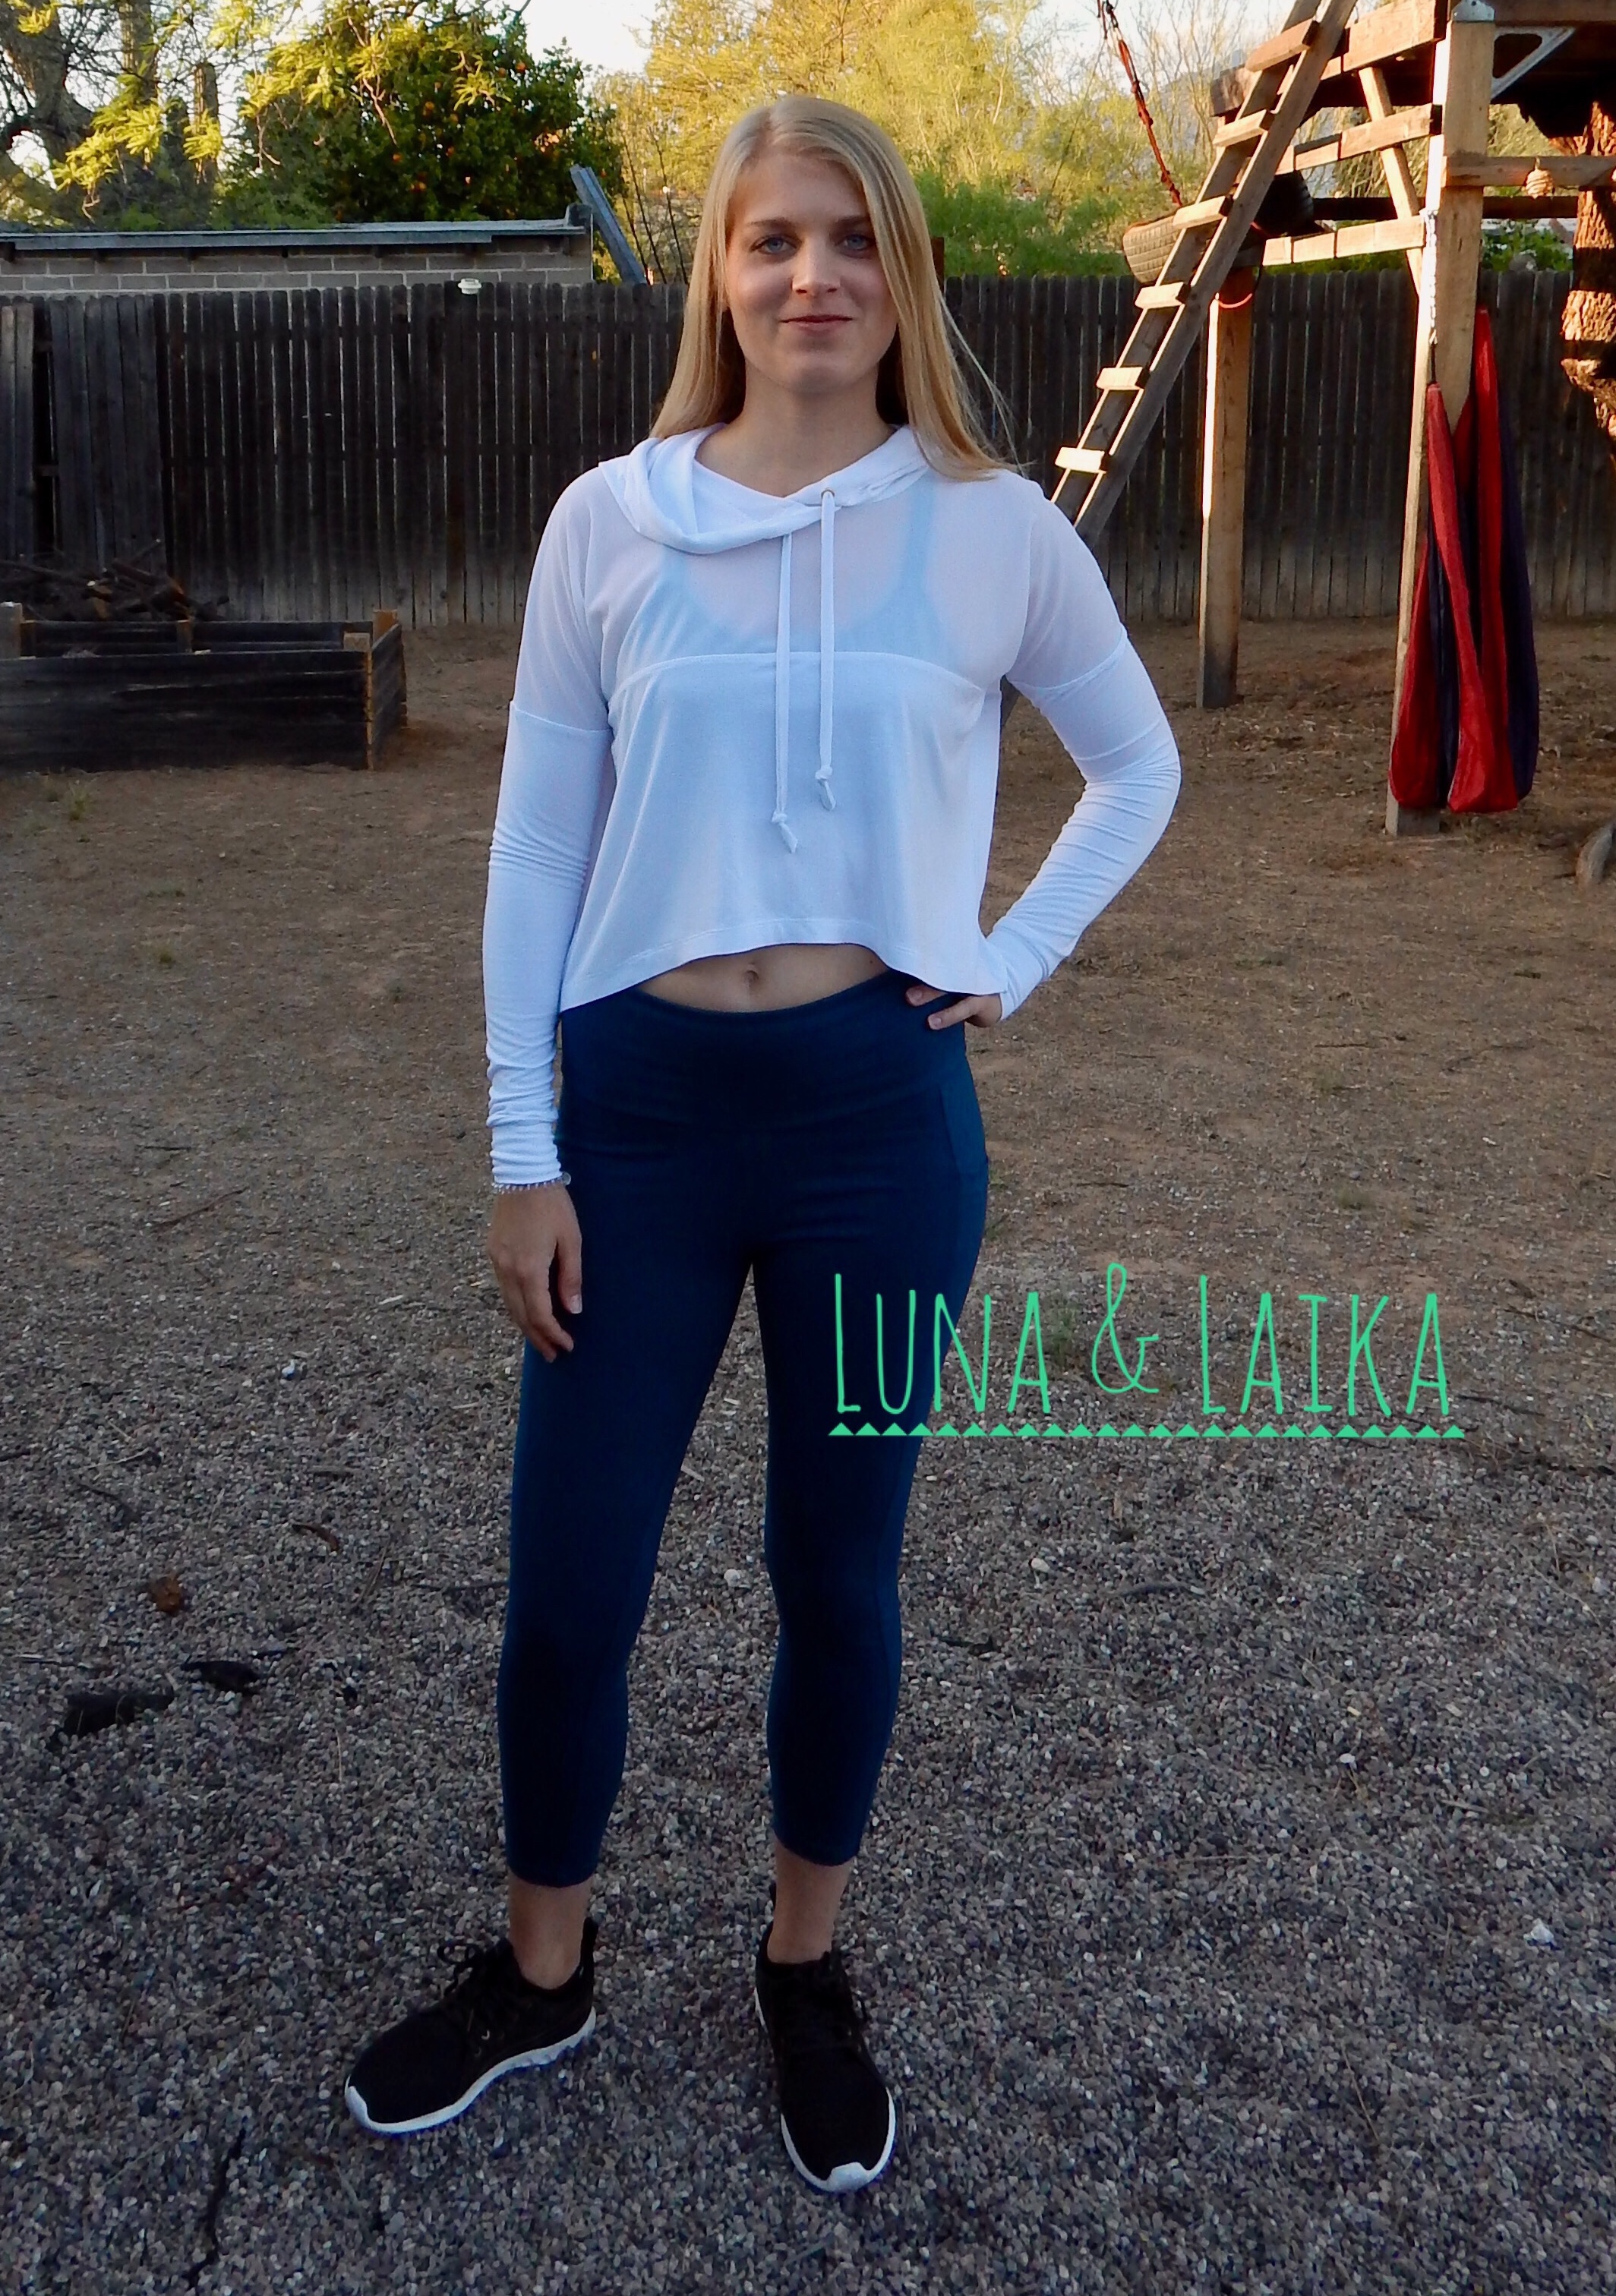
I top stitched my cowl and I like how it turned out. For the cuffs, I did the same as the cowl, with both colors. I chose to hem the bottom rather than add a waistband.

This slideshow requires JavaScript.

That’s it! Super easy! Just required a little more focus from me. My next one will be much smoother and much better. I can’t wait to wear this one tomorrow morning! Thanks for reading!

Jessica

GreenStyle Open Back Pullover

Do you ever look at patterns and think, I really like that, except for…?  That’s how I felt about the GreenStyle Open Back Pullover.  I like the open back, I like that there’s a deeper scooped back, as well as a closed back option.  I like that it can be sleeveless, or have long or short sleeves.  I like that there is a crew neck, as well as a scoop neck, along with a hood option.  Most people love “hoodies” and banded sweatshirts.  I am not one of those people.

Banded bottom shirts are not a good look on me.  I own one banded bottom shirt, and it hangs unworn in my closet.  I’ve tried to wear it, it looked cute on the hanger when I bought it years ago, but on me, it looks like a maternity top.  If I were an expectant Mama I would wear it and look adorable.  But since I am a Grandma and long past the age of having babies, it’s just not the look I am going for!

Luckily, it is super easy to hack the Open Back Pullover to not need a band.  You are going to want to pay attention to your hip measurement.  Make sure you measure the widest/largest part of your hips and booty.  If it falls within the measurements for the size you are making, you’re good to go.  But if it’s at the upper end or bigger than the size for your bust and waist, you will want to grade your pattern out to a larger size, starting at the waist.   Then use a ruler to add 4″ of length at the bottom of the front and back pattern pieces.

Follow the pattern tutorial, (it’s a pretty easy pattern) and instead of sewing on a band at the bottom, simply pin and press the hem up 3/4″ and zigzag or coverstitch to finish the hem.

OB frontOB side

I like that I can wear a regular bra with the high scoop back, and wear it like any other top.  The low scoop back would really show off a cute Power Sports Bra and be fun for yoga class or working out.  I thought about using powernet in the scoop opening, (there is a pattern piece for that), but the open back is just the right amount of sexy.  It would also be fun to use powernet as the upper back pattern piece for an even airier feel.

OB close

I made my top out of Circular Knit, and would totally consider a long sleeved, closed back version in Rayon Spandex or Ribbing for cooler days.  If you’re looking for a more traditional hoodie feel, Cozy French Terry would be so soft and plush!  Supplex would give a more athletic feel, and would coordinate nicely with Super G’s or Stride Athletic Tights.  I’m glad I gave the Open Back Pullover a shot.  It’s a simple, slightly sexy 😉 , comfortable look.

My shorts are the Brassie Joggers, made out of Supplex.  I purchased all my fabric from Phee Fabrics.


This post may contain affiliate links.  This means that at no extra cost to you, I may receive a small commission/credit if you purchase through my links.  As always, I only give my honest opinion.  After all, my blogpost represents me! 🙂  Thank you for reading and sharing my love of sewing, patterns, awesome fabric, and pattern hacking. ❤

Crop Hoodie

Hello! I’m Caitlin and this is my first time writing for Phee. I am super excited to be here. 🙂 You can catch my ramblings, I mean blog, over at Luna & Laika. Today, I am going to tell you how I created this crop hoodie that I have had sitting in my sewing inspirations on my Pinterest page since… January!!!

img_0344

You ready? I am! Here are the inspiration photos:

screen-shot-2019-04-04-at-4.58.21-pm-e1554422323478.pngScreen Shot 2019-04-06 at 8.36.50 AM.png

The first pin is here and website here. The second pin is here and website here.

When I saw this top, I immediately thought of the Studio to Street top that had just released at the time by Greenstyle Creations. Next, I was on the hunt for the perfect fabric. I knew I wanted the main fabric to be lightweight and the “mesh” part to provide some coverage but still have the see through look to it.

I ordered some Phee Powernet in white to test out and knew immediately upon opening the package that it was exactly what I was going for. I also received some of their amazing rayon spandex in the package… but unfortunately white was not in stock at the time… so the project was put on hold.

When Melissa announced the white rayon spandex was restocking and there was a preorder for it, I ordered right away, knowing that was what I needed for the rest of the crop hoodie… and waited for it to be stocked and on it’s way. Are you getting why this project has taken so long? 🙂 Alright, let’s jump ahead…

img_0353

I knew I needed to make two modifications to the pattern: color blocking the front and back bodice piece, and adding cuffs to the sleeves. I also needed the hood add on . I went with the crop length (my first ever crop top since I danced in high school!) to mimic the inspiration.

When I color block something simple like a bodice, I simply fold where I want the color block to be. When I cut, I add the seam allowance on each side. This is easier for me instead of creating a new pattern piece, unless I know for sure I’ll be making multiple items like this.

I cut the top of the bodice pieces in the power net, and everything else in the rayon spandex. For the drawstring, I cut about 1-1.5″ off the edge of my fabric. I usually don’t measure the length, but for anything for me I try to run it the longest edge of the fabric, knowing I can always cut off excess after the hood is assembled. Below are all of the pieces.

Sewing these fabrics was a breeze. The Powernet is a tad slippery, but I made sure to keep it on top when using my serger so I could make sure that it wasn’t slipping. All of the seams where the Powernet was sewn to the Rayon Spandex I made sure to topstitch the seam toward the Rayon Spandex so it stayed hidden. This helped clean the edges and adds a great detail to the finished item.

img_0347

I decided to actually sew and turn my drawstring for this top. Honestly, I’m usually lazy and just use the curled edge of the fabric, but I wanted to step things up with this top. 🙂

img_0350The pattern was a breeze to sew up. The fabrics were a breeze to sew up. I am SO happy with the finished product! I still cannot believe that my sewing inspiration came to life! I am so excited to rock this top this spring. Of course it looks great with my Strides and Power Sports Bra made with Phee’s Peacock Supplex.

img_0343img_0352img_0354

Now you have all the steps to make your own crop hoodie! If I were to make any changes, the only change I would do would be to have the front color block section be more rounded like in the inspiration photos. I’m sure I will need one of these in black for the fall, so that will be my plan! As always, let me know if you have any questions or comments! Thanks for reading. 🙂

Cheers!
Caitlin

White Rayon Spandex found here.

White Powernet found here.

Studio to Street found here.

Hood add on found here.

*Some of the links above may be affiliate links. Thank you for your support!*


Lace All Day, Every Day!

When I think of lace, I tend to think of special occasions or intimate apparel, but you can use lace to add pretty details to your every day wear!

I love the patterns from Sew House Seven, so when they came out with the Merlo Field Tee, I knew I had to have it. “Casual, comfortable, and sporty knit tee”…”a slightly tomboyish vibe”…”wide, oversized body”…add all that together, and it sounds like the perfect shirt for me. In addition, the drop shoulder sleeves are usually flattering for my wide shoulders, and I don’t have to worry about making any adjustments.

The pattern comes with cute sleeve and shoulder insets, which makes for easy color-blocking and lets you use up some pretty scraps of fabric as accent pieces. They also recommend you use a drapey knit, so I knew that the Rayon Spandex from Phee Fabrics would be absolutely perfect. Phee also carries high quality lace fabrics as well, and I thought it would be fun to use the lace as my accent fabric.

I selected this gorgeous burgundy rayon spandex and mauve stretch lace.

MerloTee1

The stretch lace is 9″ wide, so I was able to fit both pattern pieces on one foldover. You need to cut 2 mirrored of each pattern piece – one will be the shoulder inset, and one will be the sleeve inset.

MerloTee2

As you can see in the picture, I had my pieces right up to the edge on top, as I wanted to save that bottom scallop. I decided I wanted to use that for my neckline. That meant I didn’t need to cut the neckband double width, as you usually do, but only about half. So I just took that leftover part, which was about 1″ wide, and cut it to the length of the neckband piece.

MerloTee3

Because I was using the lace instead of fabric, I wanted to make sure that my seam allowances wouldn’t show through. Therefore, when the pattern instructed me to press the SA towards the insets and then top-stitch, I did the opposite. I pressed all my SA to the fabric side and then top-stitched so that it wouldn’t “flip up” and show through the lace.

Tip: A walking foot is really helpful when top-stitching drapey fabrics like rayon spandex!

For the neckband, I just took my 1″ wide piece of lace, stitched the short sides together to make a band, and then attached it to the neck opening as you would usually do. However, I did take a bit bigger seam allowance when attaching the neckband – about 1/2″ instead of the normal 3/8″ as called for in the pattern.

And that’s it! I love the scalloped neckline detail, and it was so easy to do! As for the pattern itself, I used the wider neckline option and the 3/4 sleeve. The only other change I made to the pattern was to add about 2″ to the length because I prefer a little more length to my tops (helps cover up any squishy bits).

I definitely see more of these tops in my future! I’m thinking I’ll try the short-sleeve version next as I dream of warmer days…

Happy Sewing!

Re”sew”lutions, anyone?

It’s that time of year again…a new year, a new start! I know that I’ve made resolutions in the past and started out gung-ho, only to burn out and quit by about mid-February or so. I have learned over the years to not be quite so ambitious. I think in my 20’s, my list of New Year’s resolutions looked something like this:

  • Lose 20 lbs
  • Run a marathon
  • Meditate 1 hour every day
  • Declutter my house and keep it clean every day
  • End world hunger
  • (you get the idea…)

Now that I’m in my 40’s, my list is a little more manageable:

  • Don’t gain more than 5 lbs
  • Don’t kill anyone

Whatever your resolutions may be, I know I always try to make staying active and eating healthy a priority. I work out 5-6 days a week, which usually involves 3 days of small group training, 1 day of 1-on-1 with my personal trainer, and the rest is for running.

(I don’t really like running, but my 81 year old father still does a 5K every month, and he likes to have someone come along to cheer for him when he wins his award. Seriously…he beats me every time…along with people 20+ years younger than him. #goals)

Anyway…I obviously need a LOT of workout clothes, and I just love that I can now make my own! I get all my athletic fabrics from Phee Fabrics. Not only are the prices excellent, the quality and customer service can’t be beat. (Check out this blog post to learn more about Phee and the testing process fabrics go through before they are even offered for sale.)

Some of my favorite fabrics are the Circular Knits. These are a nylon or poly and spandex blend that has 4-way stretch and is both moisture wicking and antimicrobial. Perfect for keeping you cool even during a really tough workout.

One of my favorite makes with circular knit is the SoLo Tank from Greenstyle Creations. I love this tank and the low armholes. I sometimes find tanks/tops can be restrictive in the armscye, but I don’t have to worry about any adjustments with this pattern. Also, I’ve featured this super fun cut file that shows my love of all things kettlebell!!


You can get the awesome Kettlebell Love cut file here.

If you have never worked with kettlebells, you can learn more about them at this site. Definitely start light! When I started, I used from 15-25lbs for everything, but I can now use the crazy big ones…in fact, my trainer had me swinging the 70 pounder the other day.

This is a workout from Women’s Health that I pinned ages ago, which is great for when I want to get in something quick and full-body.

kettlebellworkout

A more in-depth version of this workout that includes video demonstrations of most of these moves can be found here.

So, what are your resolutions for the new year? Whether they are big or small (or none at all), I wish you well and hope you have a happy and healthy 2019!


Note: This blog post offers fitness information for educational purposes only. You should not rely on this information as a substitute for, nor does it replace, professional medical advice, diagnosis, or treatment. You should always consult with your physician before beginning any exercise program. The use of any information provided in this blog is solely at your own risk.