Whenever I make a cute top, I can’t help but think about how I could make it into a cute workout top! The Stitch Upon A Time Titania Top & Tunic was the perfect base for a workout top hack. Since dresses are a year round staple for me, it’s also going to end up as a dress once I add 8 or 9 inches to the tunic length. The tunic itself turned out quite cute. I like the flowy body, especially in this silky soft circular knit. It has the perfect drape for this pattern. Can you imagine the twirl in a dress length?


Can you see my elastic error in these photos? Instead of following the elastic length cut chart for the armscye, I thought the elastic should be more taught. Making it 2 inches shorter than recommended gave me puckering and a bit of rolling at the armpits. I should know by now to trust Jennifer of Stitch Upon A Time’s design and testing and use the recommended length! The neckband was easy to sew, and despite being a higher neckline than I normally wear, the rounded shape doesn’t cut into my neck or shoulders. Using the built in shelf bra means not having to worry about wearing a strapless bra, or trying to find a bra with straps that don’t show. The stylish tunic would look great with skinny jeans or fitted pants like the Goldilegs Jeans, and of course with a slim skirt or shorts.
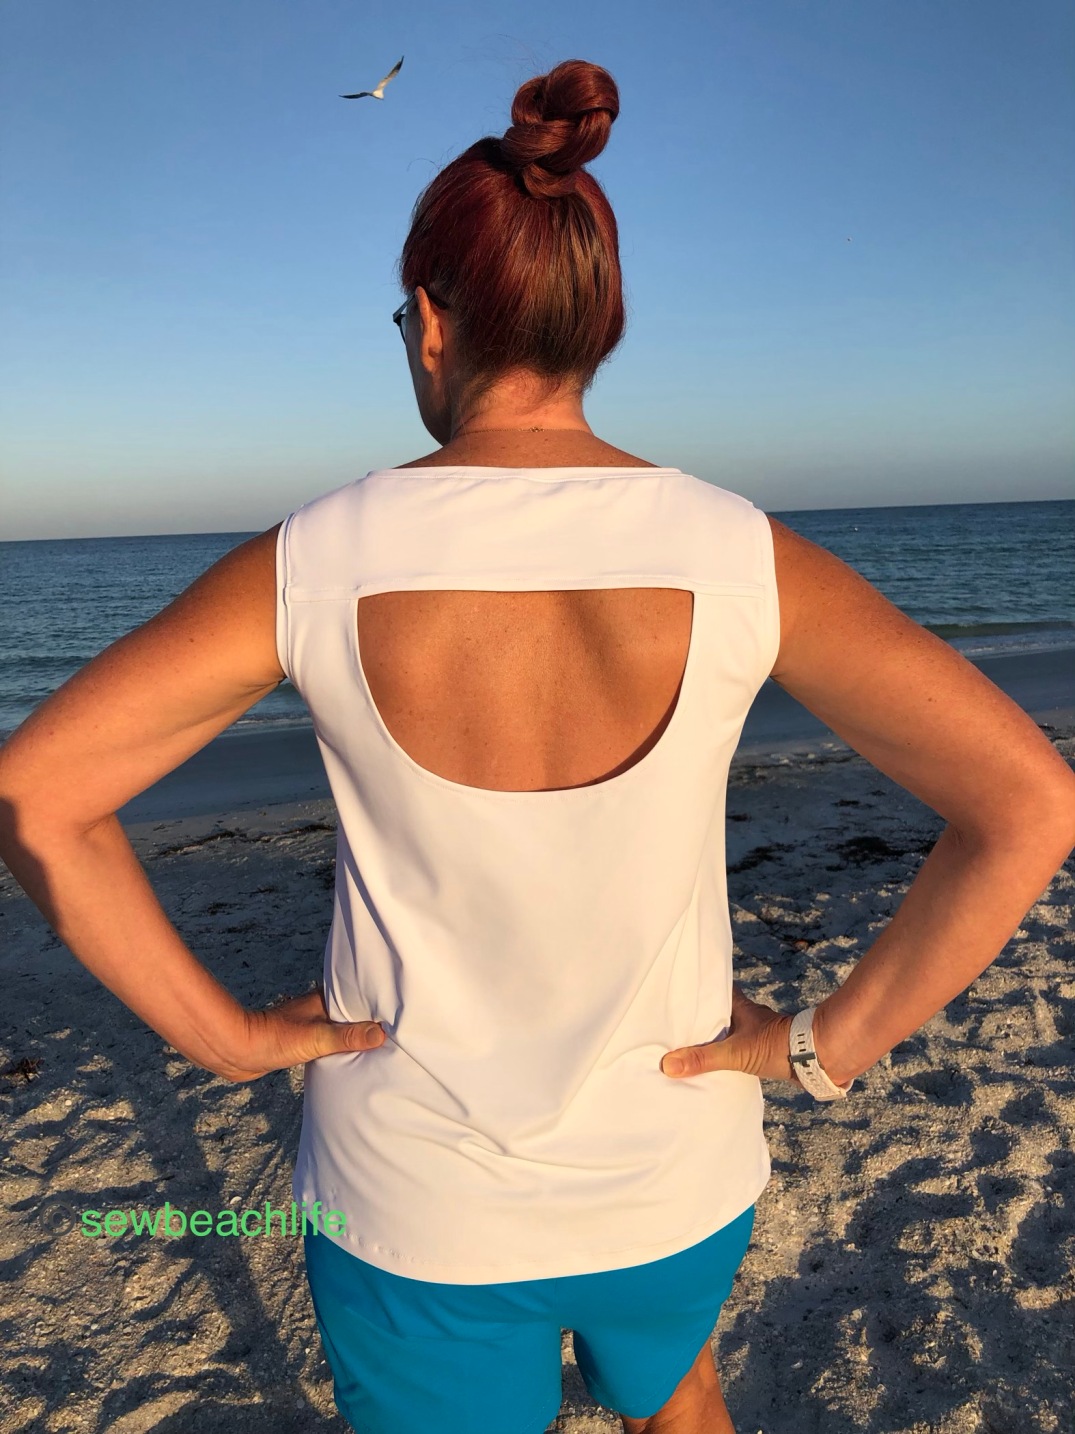
Hacking the shelf bra pieces into a workout top is easier than you think. Cut two bra fronts out of Supplex. Rather than cutting the back out on the fold of the fabric, I folded my pattern piece under 5/8″ from the center back, and cut out two left back and two right back pieces. You’ll also cut a bra front and a right and left back out of powernet or techsheen for support. For design purposes, I wanted the bra back to have a 2″ strip of powernet down the center, with a little opening between the bra top and the tank body. I used my favorite tank pattern to make the bodice. If you don’t have a tank pattern, trace any well fitting tank in your closet. Don’t forget to add seam allowances!
The trickiest part of this workout top is the V-cutout on the center front. Lay your clear ruler on an angle, starting 1″ from center front at the top, and down 5-1/2″. Do the same thing to the second bra front piece, then trim the 3/8″ seam allowance off the second triangle cutout opening. The trimmed version will become your front lining piece.


Lay the triangle you cut out of the bra front on your powernet. Add 3/4″ width to each of the long sides of the triangle as seam allowances. This gives you the front triangle insert. Cut a rectangular piece of powernet 2-3/4″ wide, by 2″ shorter than the length of your bra back at center back. This gives you the back insert.
Baste your powernet/techsheen bra front and backs to the wrong side of your bra lining front and back pieces. You will treat them as one layer from this point on. Right sides facing, sew one long side of your triangle insert to the cutout section of your bra front, using a 3/8″ seam allowance. Snip the center front of the bra down to, but not through the stitching line. And here’s where I’m going to make it easy to get a perfect V. With your bra top right side up on a flat surface, fold the seam allowance of the unstitched side of the opening under 3/8″. Apply Washaway Wonder Tape to the seam allowance. Making sure that your powernet insert triangle is laying smooth and flat, peel off the backing paper and press the folded under edge of your opening onto the powernet. You can baste that side into place, or just trust the Wonder Tape to do it’s job. (Although I am a big believer in basting, I trusted the Wonder Tape and it held fine until I was ready to topstitch all my layers.)
Right sides together, and lined up at the top edge, sew the rectangular powernet insert to one side of the bra back. Line the insert up with the top of other side of the bra back and stitch, using 3/8″ seam allowances.

Sew the front and back bra pieces together at the side seams. Sew the lining front and back bra pieces together at the side seams. Note: the pattern calls for 1/2″ seam allowances, so be sure to use this seam allowance on the side seams, even though I use 3/8″ seam allowances on the rest of this hack. Fold the center back edges of the bra lining under 3/8″ and baste.

With the bra right side out, and the lining wrong side out, place the bra lining over the bra. Line up the neck and arm openings, and pin in place. With right sides together, stitch along the armscyes and add the elastic in the seam allowances as per the pattern tutorial. Stitch the front and back necklines leaving openings at the shoulders to add straps. Cut two pieces of bra strapping 6″ long. Slide a strap down inside each shoulder opening at the back, and with the end of the strap flush with the opening, stitch the straps in place. You may want to go over the stitch line twice to ensure that the straps are secure. Turn the bra right side out. Ensuring that the triangle insert and cutout opening are properly aligned, top stitch around the triangle.

Lining up the edges of the back and back lining so that they are even with the rectangle insert, top stitch along the edges.

Now you can try on the bra, and adjust the length of the straps to fit. You may end up cutting a couple of inches off, but you need long enough peices to work with! Slide the ends of the straps down into the openings at the front shoulders, turn the top wrong sides out, and stitch the straps in place at the front shoulders.
Sew your tank front and back bodice pieces together. Then slide the bra down inside the tank with right sides together, and matching center points on the front and back, stitch. Using the measurement in the cut chart, wrap a piece of elastic around your underbust to check for fit. I used 1-1/4″ wide sport elastic, rather than the recommended width. Use whatever width of elastic that works for you, or that you happen to have on hand. The elastic should fit snugly, but not uncomfortably. Overlap the ends and stitch together. Mark quarter points on your elastic, and at the seam allowance, and pin together at those 4 points. Stretching the elastic to fit, zig zag it in place. Turn the hem of your workout top under 3/4″ and use a zig zag, twin needle or coverstitch machine to finish.
Smile, and go for a walk or run, or hit the gym or yoga studio in your fun new workout top!


I bought all of my fabric, the Circular Knit, Supplex, Powernet, and Techsheen from Phee Fabrics, along with the clear elastic and bra strapping. The consistently high quality makes and keeps me a repeat shopper! This post may contain affiliate links. This means that at no extra cost to you, I may earn a small credit toward buying more fabulous Phee Fabric if you purchase through my links. ❤ As always, I only give my honest opinion because my posts represent me.