Stretch Twill Shorts Comparison

Don’t we all love those comparison blogs? A chance to see a couple different patterns worked up in the same fabric base.  So, Amie, Jessica and Melissa  sewed up different women’s shorts patterns all in Stretch Twill

To read about finishing techniques or watch finishing videos, click the buttons below

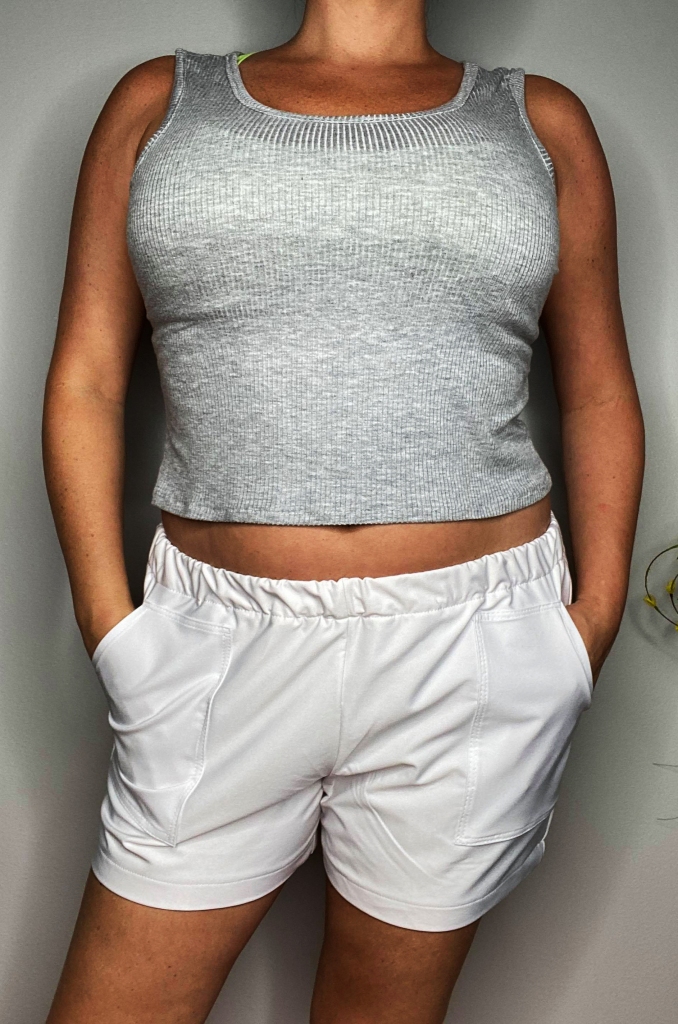
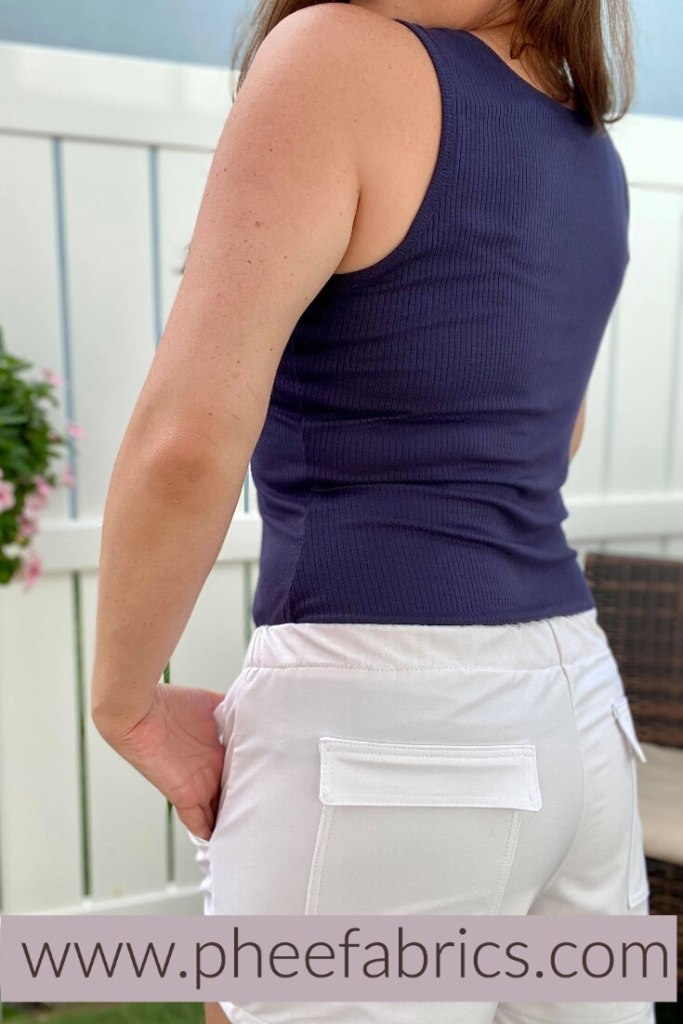
Sonia Estep Designs Bahama Bottoms

Sizes:  Women’s 00-30

Size Made: 8

Drafted For:  5′ 5″

Pattern Options:  drawstring, four inseam lengths, front patch pockets, and back patch pockets with flap.

Fabric used:  White Stretch Twill

Comments:  If you are nervous about sewing wovens or are a beginner this is a great pattern to start with. The pockets aren’t mandatory and the Phee Fabrics blogs and YouTube channel has amazing techniques to help along the way, like French Seams!

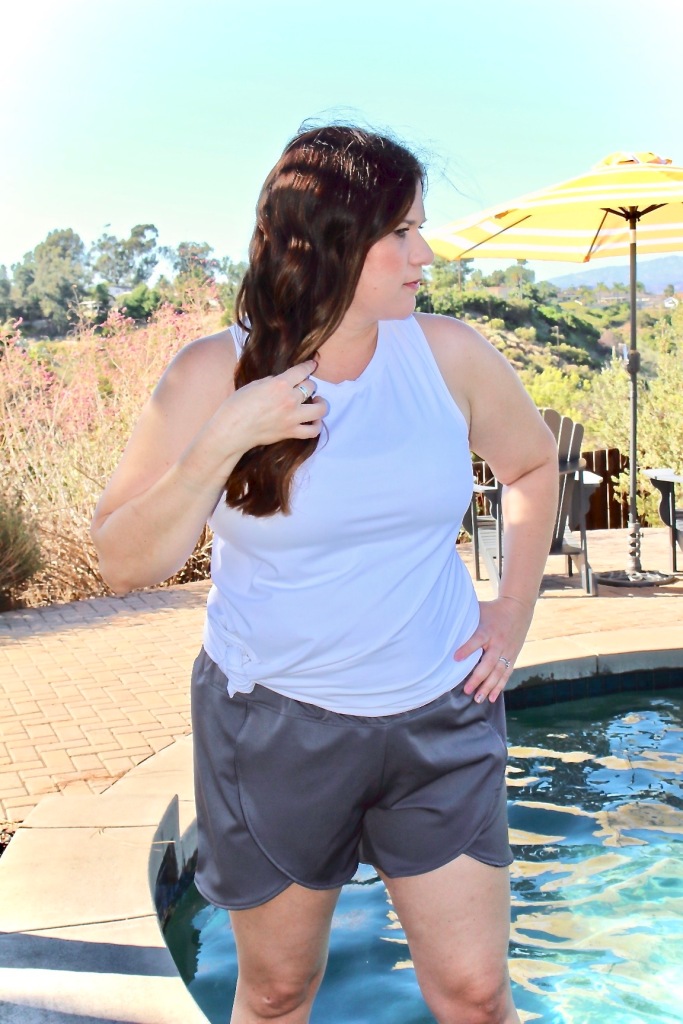
Violette Field Threads Lilly (misses)
Sizes:  0-16

Size Made:  16

Drafted For:  5′ 6″

Pattern Options:  high rise, regular rise, low rise, faux flat elastic front

Intended Fit:  Slim fit, and designed to hit top of mid thigh.

Options Made:  Regular rise

Fabric used:  Charcoal stretch twill

Comments:  I love that this pattern had a lining sewn into it. In the construction steps, it mentions that 2 sets of mirrored front pieces are needed, 2 main, and 2 lining (4 total).   Since this pattern is in Misses sizes, it is not very inclusive.  The print guide, cut chart, and instructions are limited. 

Fit:  I was concerned that these would be too tight, and not fit with them being “slim fit so I reduced the seam allowance by 1/8″. This has made them more of a relaxed fit. The pattern calls for 1″ elastic but I used 1.5″. For the next pair I’m going to attempt making the inseam shorter.

Striped Swallow Coachella
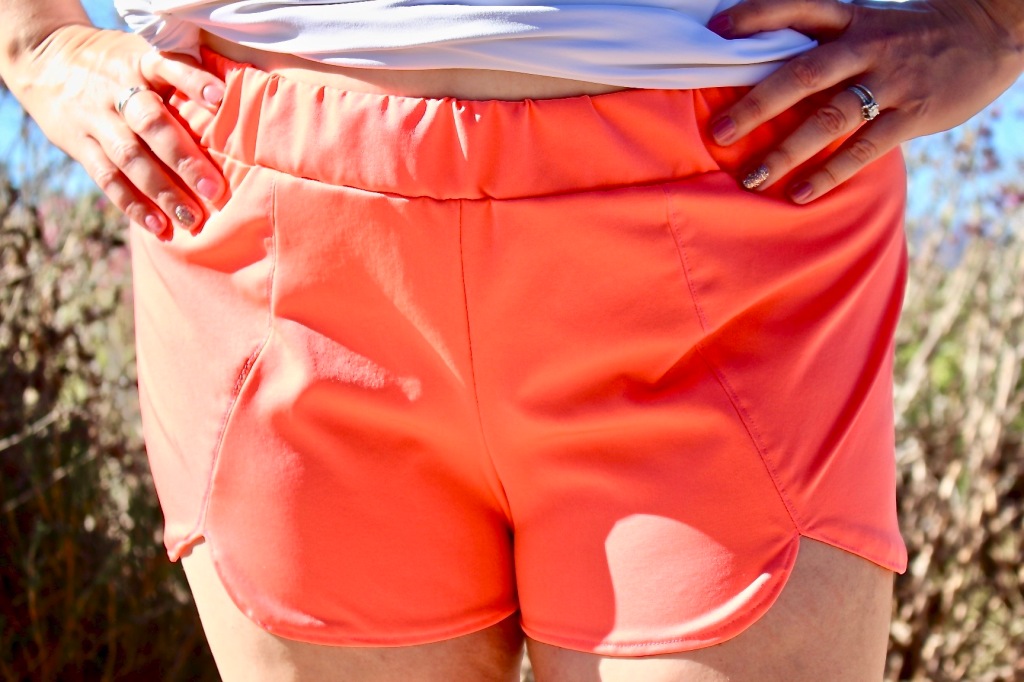
Pattern Options:  Relaxed fit, Slim fit, 2″ inseam, 4″inseam, low rise, mid rise, high rise, trim and bias tape options.

Intended Fit:  Relaxed or Slim Fit

Options Made:  Slim Fit, 2″ inseam, mid rise

Fabric Used:  Coral Stretch Twill

Comments:  I love this designer’s patterns. There is no cut layout, all pages are printed landscape, make sure to check your settings in case you need to change them. The pattern does call for trim, which I left off because of them being dual purpose.  The problem is that I kind of had to wing it because there are no instructions on how to sew these shorts up with no trim. I want to try the relaxed version next time, and see how that compares to the slim fit version.

Made By Rae Rose Pants/Shorts
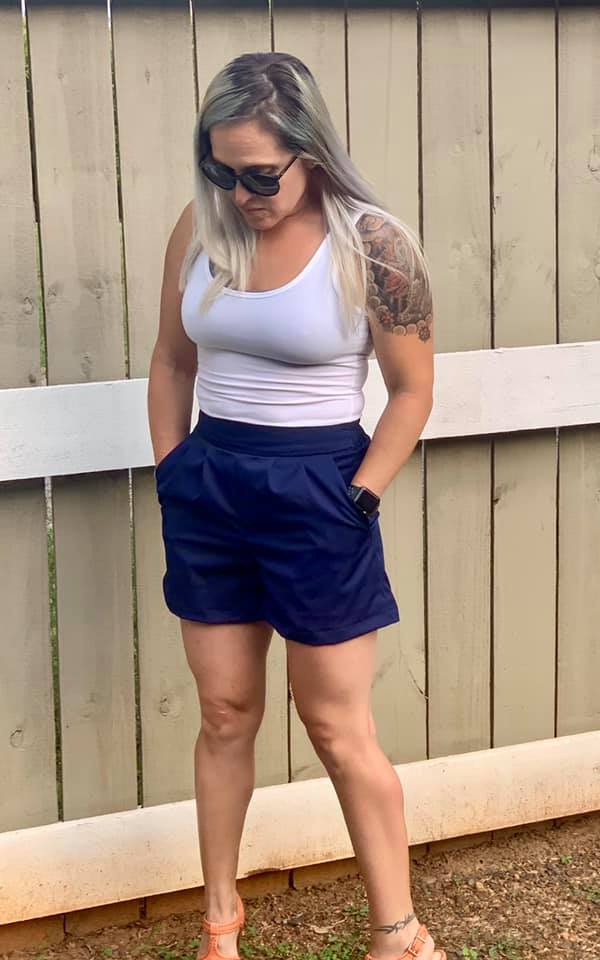
Sizes:  Women’s sizes XXS – XL, Plus Sizes 1-5 

Size Made:  XS

Drafted For:  5′ 6″

Pattern Options:  High-waisted pants and shorts sewing pattern with slash pockets and a pleated or gathered front. The front waist is flat while the back waist is elasticized. Choose from three lengths: long, cropped, or shorts

Options Made:  High waisted shorts with pleats and slash pockets

Fabric Used:  Navy Stretch Twill

Comments: Sizing is true to size. I did take a little extra seam allowance to slim them down through the hips and thigh.

Made For Mermaids Women’s Lucy Shorts
Sizes:  Based on colors

Size Made:  Green

Drafted For:  5′ 5″

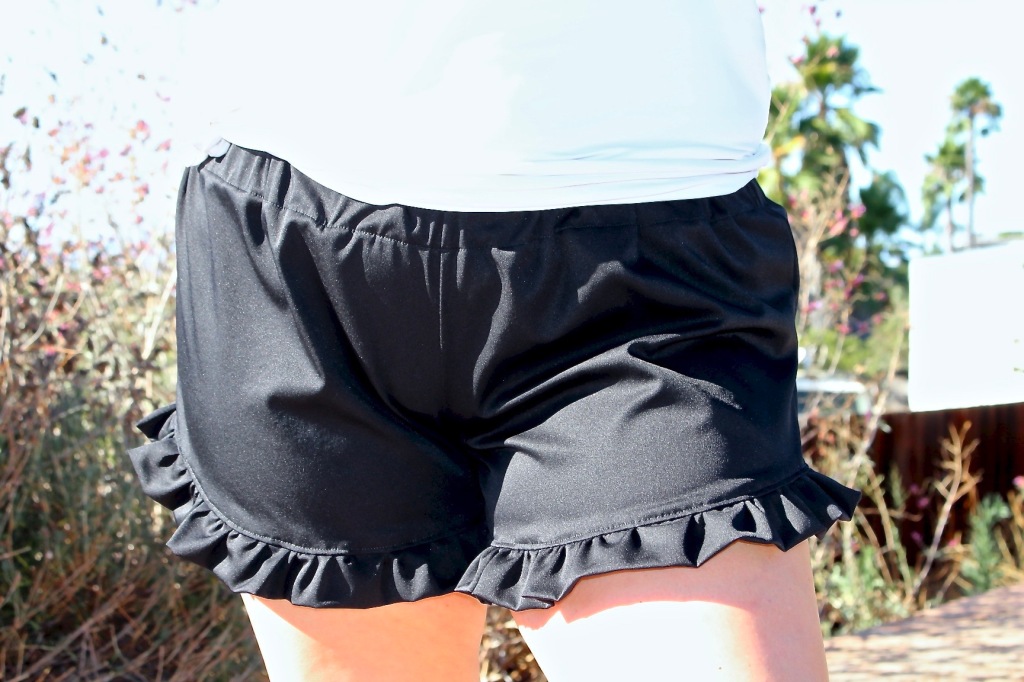
Pattern Options:  3.5″ curved and straight hems, 4.5″ curved and straight hems, trim and bias tape options.

Intended Fit:  Relaxed low rise shorts

Options Made: 3 1/2in curved hem

Fabric Used:  Black Stretch Twill

Comments:  Easy to follow instructions. Quick sew. These shorts are low rise but it is easy to adjust the rise if you wanted a higher rise. You can also do the ruffle hack, like the ones pictured by following this blog.

Patterns For Pirates Linen Loungers
Sizes: XXS- Plus 3X. There is also a kids version called Little Loungers

Size Made:  XL

Drafted For:  5′ 5″

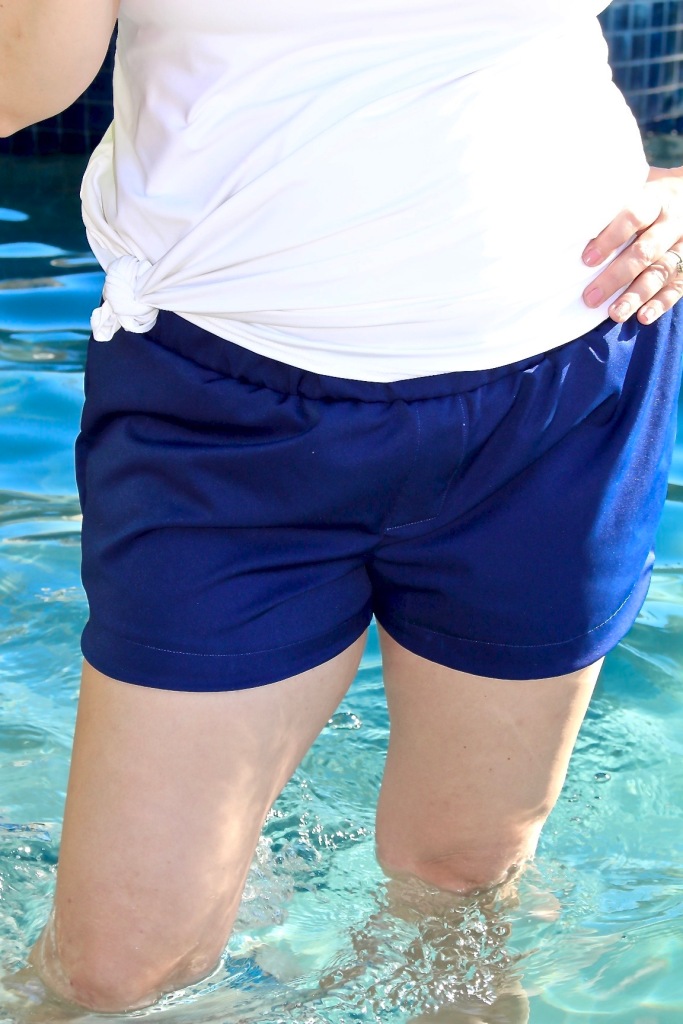
Pattern Options:  Curved hem, shorts length, cuffed shorts, button tab, bermuda length, capri length, pant length, elastic waistband, yoga waistband, back pocket, exposed front pocket, slat pockets, grommets and tie option, faux fly

Intended Fit:  Loose, Relaxed fit

Options Made:  Curved hem, shorts length, back pocket, elastic waistband, faux fly

Fabric Used:  Navy Stretch Twill

Comments:  I found that these have a mid rise fit. Basting your back pockets on first with help achieve the desired placement. The instructions include a faux fly but I did mine the way I’m used to.What I did was with right sides together, sew around the faux fly using a 1/4in seam allowance until you get to the curved crotch, then switch to 1/2in seam allowance.  Clip all of the curves, then turn right side out.  Fold fly over the front of the shorts, then top stitch the fly down and around the fly like shown in pattern.  That’s it!  
Women’s Denim Shorts

When I saw the Sonia Estep Bahama Shorts made in AGF Cool Foliage Denim I knew I had to have them and quickly purchased the pattern. The pattern is either for shorts or pants and I figured shorts would be the best starting point for fitting and it’s 105 degrees out right now.

There is a lot of room for your own interpretation in this pattern so I’m hoping to clear some of it up and help alleviate some of the stress of sewing a pair of woven shorts.

These tips are useful for all woven patterns, including this one.

Pockets

If your pattern contains a piece for a square or rectangular piece, I find it easier to measure the pattern piece then cut the woven fabric on your cutting mat to ensure a straight cut.

Fold and press the seam allowance

Left: exposed cut pockets Right: enclosed pockets to eliminate fraying

Open up and snip the corners to reduce bulk

Snipped corners to reduce bulk

Fold the cut edge to meet the pressed line, press, fold again and press. This will ensure that you won’t have internally frayed pocket

The back flaps tend to use 2 layers of fabric so why not have so fun with it and use a scrap print for the inside .

Make sure the right sides are together, stitch around leaving a small pocket for flipping.

Snip corners then flip so the wrong sides are together and press.

Pocket Positioning

With the Bahama Shorts, this is where it gets tricky because depending on the waistband that you choose will decide on the rise. Just following the pattern could leave your pockets not positioned in the best place so I would suggest the you decide on the waist option before basting the pockets.

Baste the pattern together now.

Because you can use any elastic that you have, I chose 1.5″ because I had it on hand. After folding and pressing the casing, this would have left the waistband stitching into the front pockets.

I found that using 3/4″ elastic was the best option to create your desired rise. Once you get the ideal rise (do not add elastic yet) you can then add the pockets to the most flattering positions.

After that is done I always assemble wovens with French seams.

Also featuring a key fob. You can find the pattern HERE

Happy sewing

Melissa

5oo4 Zen Pants Made As Shorts

Summer time means shorts, and nothing screams summer like bright, white shorts.  They look great with any color tank or tee, or thrown on over a swimsuit.  In my quest to use every pattern in my collection I decided to try the 5 Out Of 4 Patterns Zen Pants, using the shorts cut line.  The Zen Pants are a slim fit with optional front and back patch pockets and a side cargo pocket.  There is also an optional faux fly, and drawstring waistband.

I like my shorts to be a smooth line under my tanks and wanted a dressy casual look, so I wanted to streamline as much as possible.  Pockets are an absolute necessity, so I decided to turn the large patch pockets into smaller internal patch pockets, and to forego any other ornamentation.  It’s fun to customize patterns to suit my needs, and I’m never afraid to try a simple hack.  As I have noted before, I don’t show full pattern pieces to protect designers intellectual property.

The first step of altering the pocket was to decide how wide I wanted it.  I laid my phone on the pattern pocket piece and knew that I could slim it down to the width of the X-small pocket.  I laid my traced out pants front piece onto the master pattern pocket and used a pencil to draw lines from the hip up and from the top out to the outer top corner.  I also curved the pocket side to follow the curve of the hip on the pants front.  I am pointing to this area in the photo below.  (The dashed line is the original pattern shape of the outer top corner of the pocket.)

Z pocket alter

Laying the pants front on the master pattern pocket piece allowed me to trace the curve to make the pocket opening on the pants front.  That small piece in the upper corner of the photo below is the piece I cut off and discarded.  I also hacked the pocket facing, (which is used to reinforce the pocket opening.)  I like my pocket facings to be about an inch wide, so I traced the top curve of the pocket facing piece and just made it an inch wide.

Z pocket fac

Next I laid out all my pattern pieces and cut them out my fabric.  You could use a ponte or one of the other recommended fabrics, but I find that shorts made of ponte make me feel too hot and sweaty.  I love making my shorts out of Supplex.  It’s moisture wicking, so it really helps keep you cool.  And since it washes and wears so well, you don’t have to worry about using white Supplex to make shorts (or anything else for that matter!)  Because I love the consistently high quality, I buy all of my Supplex from Phee Fabrics.  It is a substantial 18oz., so I never have to worry about it being sheer.  And, it took less than a yard of fabric for my shorts.  Yay!  That means I have enough left to make a workout top too!

Place the pocket facing on the pocket opening right sides together, stitch, then flip the facing to the inside of the pocket.  Give it a good press, then topstitch.  The photo below shows what the facing will look like on the inside (or wrong) side.

Z pocket

Place the pocket right side up, to the wrong side of the shorts front, lining up the top and sides.  Baste at the top and side seam, and pin the curved inner edge of the pocket to the front.

Z pocket baste

Use a zig zag, decorative stitch, or cover stitch to sew the pocket to the front.  I used one of the “overlock” stitches on my sewing machine.  Take your time sewing around the curve to make sure you are catching the pocket as you sew.  Press everything smooth.  From this point you’ll be able follow the pattern directions as written to finish your shorts or pants.
Zen back

I like the idea of the back yoke/waistband on the Zen Pants, because it curves down to meet the pockets at the side seams and gives your shorts or pants a flattering shaped look.  It does however take longer to sew than a simple rectangular or a contoured waistband that’s even along the bottom edge.  I also like that the pattern tutorial gives you photos, drawings, and tips for some common pants fitting issues.  I may try to scoop out the back crotch curve of my shorts a little to fit the shape of my bum.  This should correct the wrinkles I seem to get on all pants patterns, (so I know that it’s my body shape, versus an issue with patterns.)

I love being able to make cute, comfortable shorts that will help keep me cool during the heat of summer.  It’s nice to be able to customize them to suit me by choosing from all the pattern options and by a simple hack for the pockets.
Zen shorts

Now I need to search through my patterns to see what else I need to make!  (And perhaps order more Supplex because my stash is alarmingly low!)  I need shorts in all the Supplex colors!

*This post may contain affiliate links.  This means that at no extra cost to you, I may receive a small commission if you purchase through my links.  As always, I only give my honest opinion.  After all, my posts represents me!  Thank you for reading and sharing my love of sewing and pattern hacking.