Being a stay at home mom and working in the fitness industry my whole adult life, the need for a “real bra” wasn’t there. Plus, have you seen the prices?! A nice bra is not in my budget! But every woman wants a nice bra at some point. When I heard Phee Fabrics was going to start selling bra kits, I knew I had to give it a go! 
All my my fabric and notions came from Phee Fabrics. I wanted to be sure I was using high quality material because we all know that materials can make or break your project. Also I wanted to be sure that it would last with all the work I was putting into it. The bra kits come with all the basics that you need. You will need to buy lace , fabric, underwire casing , and underwires. For me the supply list was the most overwhelming part, and Phee Fabrics simplified that for me. The rest is open for customization. I’m not lying, I was so stressed over what colors to get, what would look good, etc. It’s really not bad once you get into it. I used the amethyst lace and the black denier tricot. . I also had to cut my wires to fit. Super easy! Just use snips or bolt cutters and go over with either plasti dip or clear nail polish.
I chose the Lansdowne Bra bra from Orange Lingerie. I had heard great things about their patterns and I can say they lived up to the hype. The instructions are so well written. The whole thing was a breeze! This was my first bra I’ve ever sewn aside from sports bras. If I can do this, anyone can!!!
The Lansdowne bra has an option for a “cleavage cookie”. Who doesn’t want a cleavage cookie?? Basically you make a pocket on the cup so that you can put your “cookie” in there if you want more of a boost. For the cookie, you just cut the cut and sew foam and serge the edges. I did two layers but you can do as many as you’d like. This isn’t part of the pattern but it’s on their blog.
Another great bit of info I got off the Orange Lingerie blog, is how to adjust your back band to fit whatever size hook you’re using. I did have to adjust that.
In the last month I have made 4 bras!! However, I only have 1 that fits. Sizing is probably the toughest part about bra making. If you know your size, then you have a good place to start. The last time I was sized, it still wasn’t the right fit. Also I’ve been leaning out this year and my measurements have changed so much. The thing about making your own bra is you customize the entire thing. Mine is all different sizes fused together to make something that fits me pretty well and is really comfy.
The fabrics are delicate and you will most likely have to do some seam ripping. One tip I picked up, use navy thread on black or cream on white so that it’s easier to see if you have to use Jack the Ripper. And not noticeable. This bra has TONS of imperfections!! Don’t look too closely. By the time I got to this final one, I was a little tired of seam ripping. Plus for some reason, I couldn’t get the cups to line up perfectly on this one. I seam ripped 3 times, and after that, I left it. I didn’t have this issue on any of the others I made so I think it’s because I needed pictures of this one. Hahaha!!
As far as time goes, it’s a pretty quick sew. You could easily make one in an afternoon. The second one I made, took me 2 hours! I’m hooked!! I want to make all the bras!
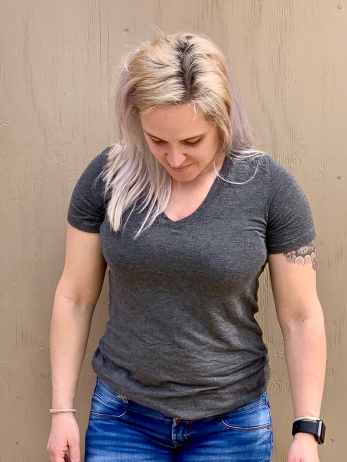
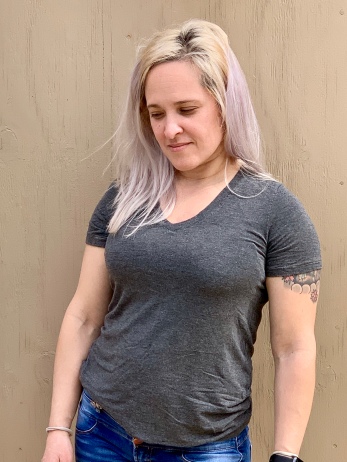
Here it is under a t shirt made with Phee’s rayon spandex. Honestly it’s the most comfortable “real bra” I’ve had in years. I’m so stinking proud of this bra, even with its imperfections.
With all these great blog posts this month, I hope y’all are inspired to go make your own. Thanks for reading!!
NOTE: There may be affiliate links that earn commission. But it all goes to my fabric addiction


